This tutorial details a path for applying textures to a mesh utilizing the UV Project command. To demonstrate this, I"ll just use a simple plane and create a brick road. The UV Project command is a specific type of unwrapping where the unwrapped mesh is specified by the camera angle. So in this case, I'll be using the z-axis view since my texture will be a top down view as well.

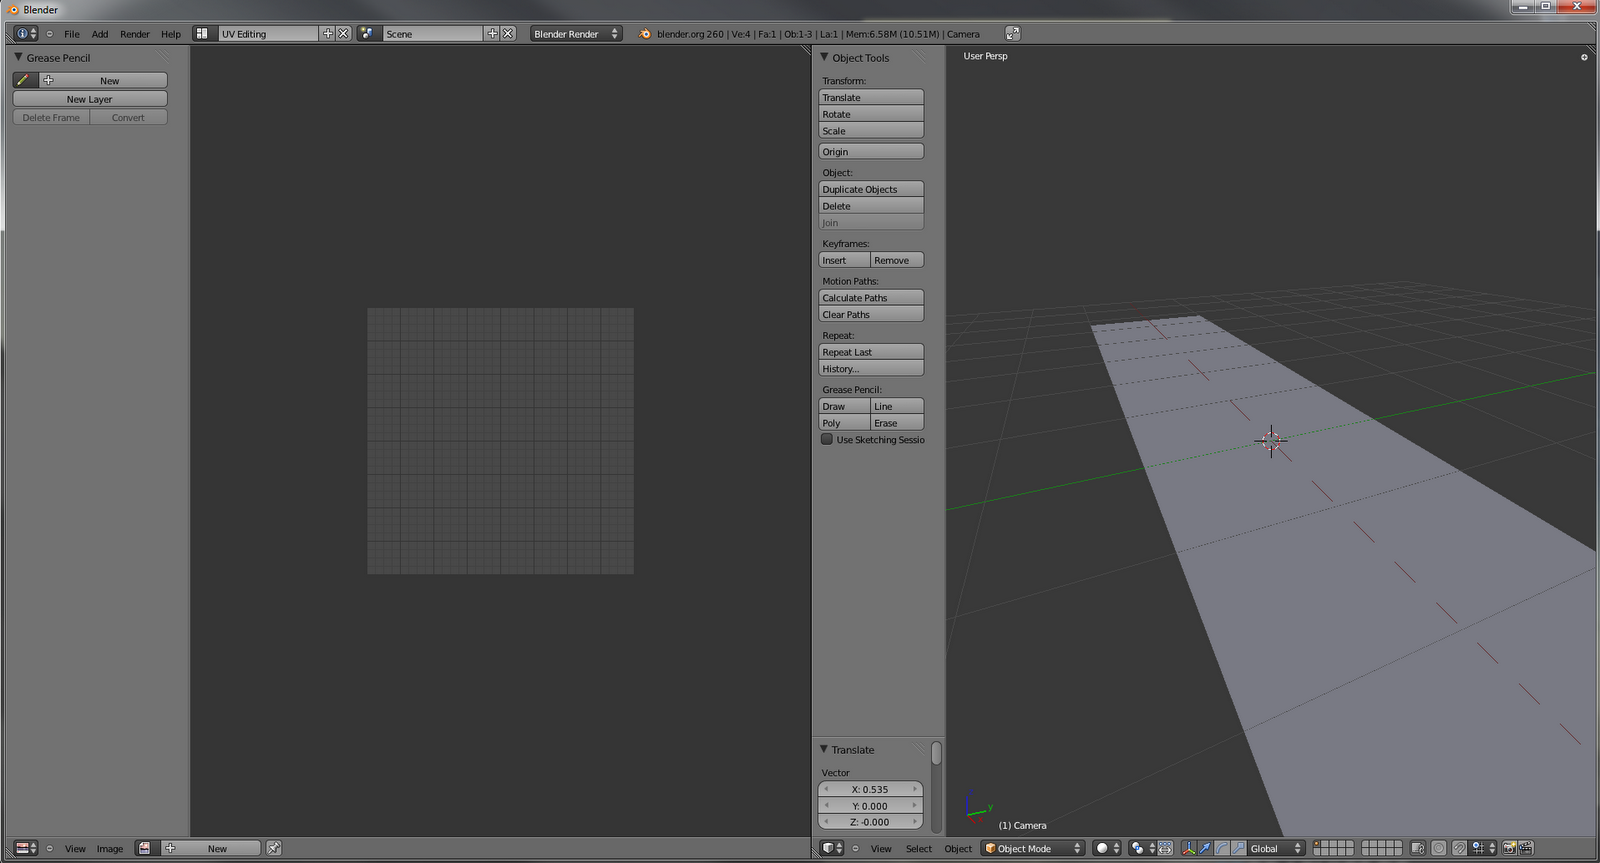
Load the image that will be used as the texture through the Image button in the bottom left. of the screen.

Once the image is loaded, it should be visible on the left pane. With the mesh selected on the right, bring up the uv menu [u] and select Project From View.

This should bring up the mesh vertices onto the image in the exact orientation as shown in the right pane.

From here the 2D mesh can be scaled [s] so that the road width aligns with the texture, allowing the x-axis to be filled by a repeating pattern.

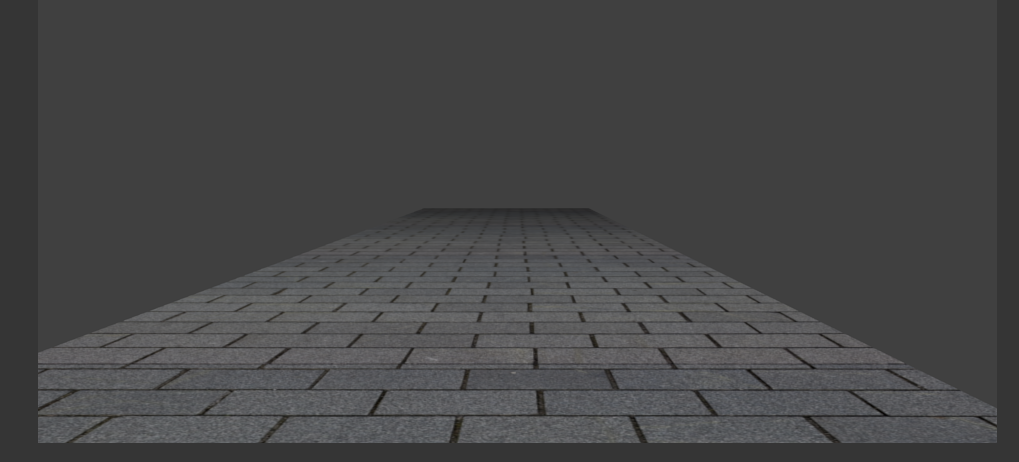
From here you can return to the normal Object view. Make sure the plane is still selected and create a new material and texture. In the texture panel, make sure to reference the same image (the brick road) as before, and set the Coordinates to UV.

At this point the texture should be fully applied and rendered [F12] on the plane, with repetition in the direction that wasn't covered by the mesh in the UV editor.
No comments:
Post a Comment