Thursday, September 27, 2012

Transparent Mask - Cycles

This tutorial is similar to the material mask, however this approach makes use of an alpha (transparency) channel built into the texture (i.e. PNG with RGBA) that will be overlayed.  In this case the red splatter (from here on referred to as blood) is an image with a transparent background.  We will be overlaying this onto a wooden plank texture.


Saturday, September 22, 2012

Export Transparent PNG

This is a quick tutorial on how to render an image with a transparent background.  The idea behind it is that anything that isn't modeled, essentially all parts of the "sky" that are rendered will be rendered as transparency in the PNG.  I'll go over both methods for Cycles and Blender Internal.

For Cycles, set the PNG format to RGBA, and way down in the Film panel enable Transparent.  

For Blender Internal, again set the PNG format to RGBA, but this time set the alpha in the Shading panel to Premultiplied.

When you render, the sky should be black, and when you save the image it will be transparent, as shown with the basic cube setup.

Light in Glass - Cycles

For this entry, we'll go over a trick for having a light shine through glass efficiently in Cycles.  For this example, we'll have a simple setup of a oval sphere emitting from inside a regular sphere (which has the glass material), and a torus around it to receive the light through the glass.

When normally just applying a Glass material to the sphere, the problem arises that the light cast on the surrounding area is very noisy.  This is due to the fact that Cycles is trying to do a lot of intense math to try to get the lighting realistic.  This method of rendering can take a very very long time.

The quick trick is to use the LightPath node combined with a Mix Color node set to Add and a Factor of 1.0.  When combining this with a Transparent Shader, the resulting render is one where the light coming from the emitter is correct as it passes through the glass to the camera, but for the light that passes through the glass to the rest of the environment, it's as if the glass isn't there, leaving much faster rendering times and much cleaner image.

New render with this more sophisticated node setup.

Friday, September 21, 2012

Material Mask - Cycles

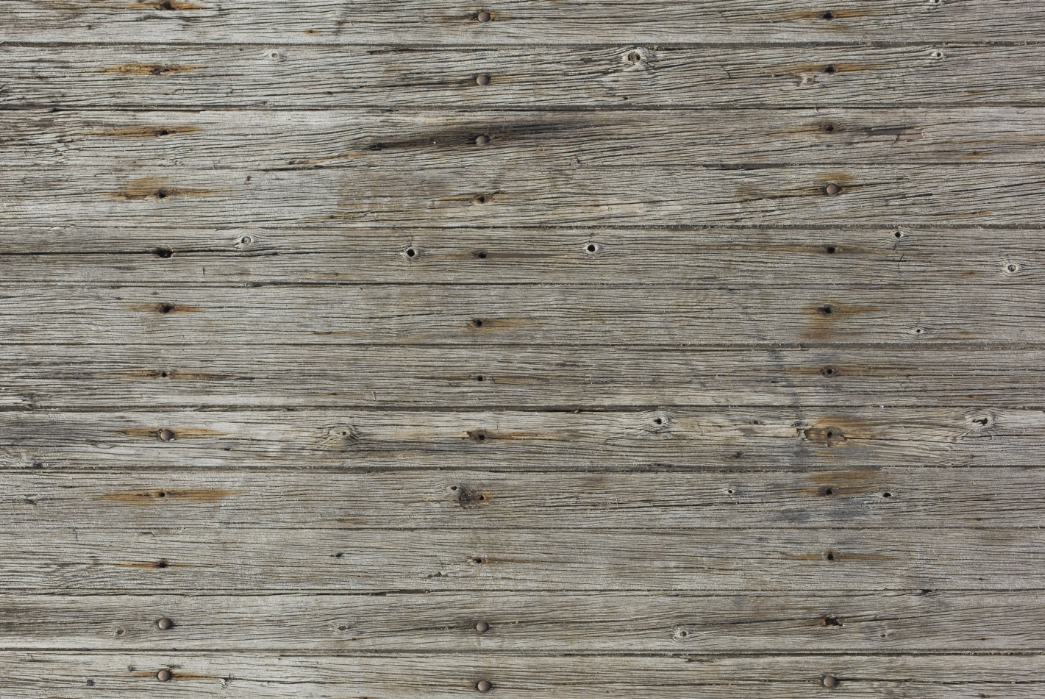
This entry will cover the function of creating a material mask using an image texture.  Our starting model is a simple sub-surfaced cylinder with a uv-mapped texture on it.


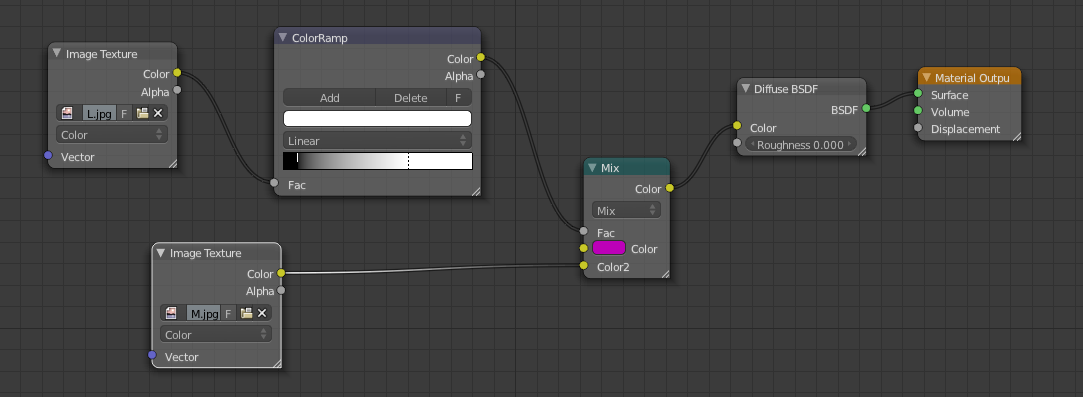
Using the following material node setup, we essentially are taking a second texture and masking out parts based on luminance.  A bright magenta is used to show what would normally be another texture showing through.  The ColorRamp node converts the output of the texture to black and white, while the sliders allow you to control what parts of the texture will show through.

An example of the cylinder now masked showing some magenta areas through.

Taking this node setup further, the output from the ColorRamp can be fed into a Mix Shader to also act as a mask for another shader (in this example a Glossy Shader).  A Mix Color node must be placed in between to control the strength of the second shader.  The second color of the Mix Color node must be set to black, acting like a scale between black and the full white from the ramp.

The result of this setup is as shown below, where the glossy is only affecting the areas that are masked per say.