This process of UV Mapping provides the artist with the greatest amount of flexibility when it comes to designing a custom texture for some complex geometry. For this example we'll be custom texturizing an icosahedran using UV mapping.

Note: to maintain the proper proportions of the mesh faces once unwrapped, be sure that the scale of the object is 1:1:1, or else always scale only in Edit Mode rather than in Object Mode.
The first step is to select all the desired vertices to be textured in edit mode (in this case all of them), and bring up the unrwap menu [u], and select Smart UV Project.

Next switch to the UV Edit view [Ctrl + LEFT], and you'll see the faces of the mesh are fanned out in an arbitrary manner in a 2D grid.

Note: that at this step you can simply open an image, and adjust the vertices in this view to match the image rather than adjust the image to adjust the vertices. Choose based on what you are designing and what seems more efficient.
Next we'll export this pattern by selecting the UVs button and clicking the Export UV Layout option. This will allow you to save a PNG of this pattern within a transparent layer.

Open the generated file in your preferred image editor. Notice that the image is a pattern on a transparent layer.

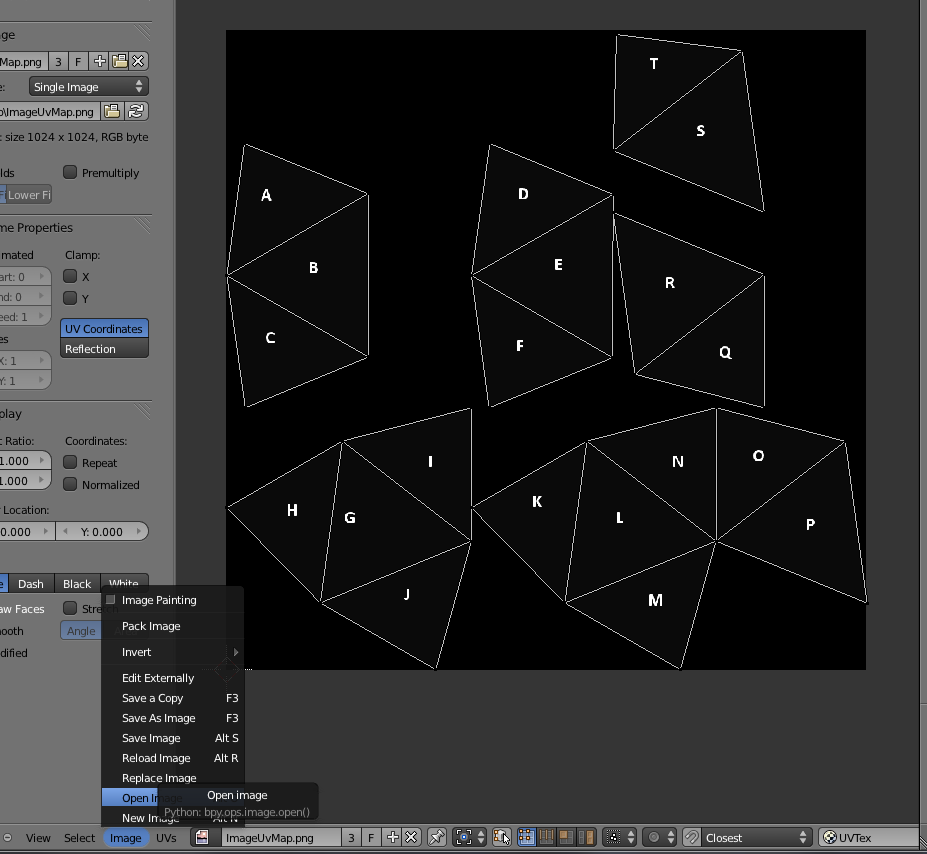
From here we can create our own layer, and our own custom texture, and see where the vertices and faces reside with respect to the image. In this case for a simple example, I just put a unique letter in each triangle--almost like creating a letter-based dice.

Save the image (without the UV mapping layer visible). Back in Blender, still within the UV Edit view, open the image you just created, and it should be perfectly mapped to your UV Map.
From here, create a new texture for the object, and apply the standard settings to apply the image as a texture.

Rendering with the new mapped texture shows the alphabet-dice with the unique letters on each face.

No comments:
Post a Comment