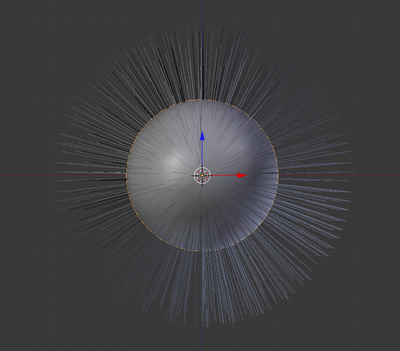
The idea of using Vertex Groups in Blender in my mind means that the model is getting sophisticated. However, this principle is used quite often for UV mapping, for multi-materials in a single object, etc. So in this case we are defining our own vertex groups for our own purposes, and in this case, that's applying a particle emitter to only certain parts of the mesh.
So we'll start off with a UV sphere.
To define a Vertex Group, first select the desired vertices (faces or edges), then in Mesh tab, add a new Vertex Group and give it a name. Then simply Assign the selected vertices.
Just for this example, I defined a second Vertex Group and called it Mohawk. You'll see why below.
Next we simply add a Particle Emitter to the sphere. As per default, the particles are applied all over the sphere.
To define a specific Vertex Group to use, select one of the created vertex groups in the Density box. Note, how only the bottom half of the sphere is now populated with particles.
As with the Mohawk group, the particles are now only applied along the top in the middle.
Render of the Mohawk sphere.


No comments:
Post a Comment