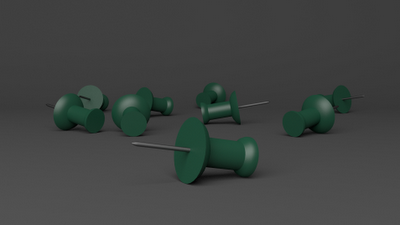
This entry will show how to get a Depth of Field (DOF) effect using the compositer in Blender. To start off, we have a scene that has a bunch of thumbtacks, with one particular tack closest to the camera.
When rendered, this looks fine, however, considering the scale of these objects in real life, a normal camera would produce some very narrow depth of field to produce such a macro shot.
The first step to setting up DOF is to turn on Limits in the Camera, then set the Distance so that the visible cross is aligned with the object you want in focus.
See the arrow below pointing at the cross (in the top view [NUM 7]) which is aligned over the tack closest to the camera.
Now in the compositer view [Ctrl + LEFT], setup the nodes as shown below.
The FSTOP in the Defocus node will need to balanced with the Size field in the DOF parameters in the Camera, to get the right look. The easiest I found is to leave the FSTOP value in the Defocus node high, and set the Size in the Camera settings low. Experiment here.
The final rendered image with DOF applied, as well as some contrast.


No comments:
Post a Comment