This entry will show how to apply the new Ocean Modifier in Blender 2.6.1
To start off, you need a simple plane.
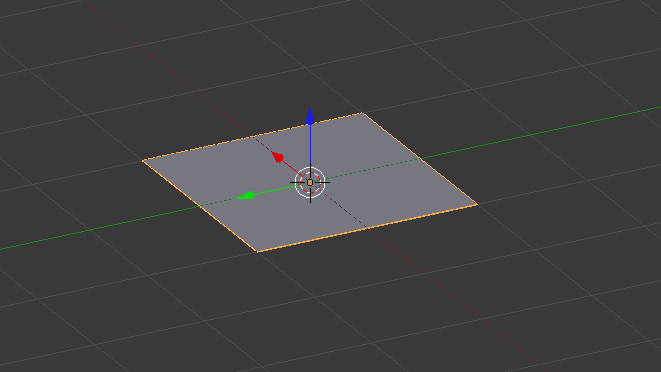
For that plane, add the Ocean modifier.

The plane will be scaled, and some default ocean deformation will be applied.

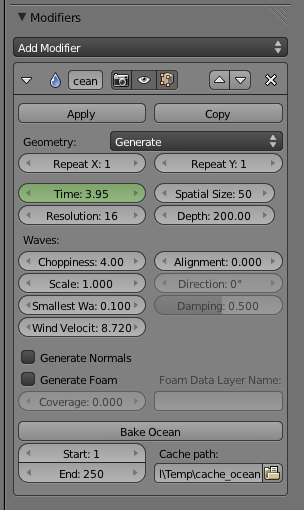
As a side not, if you want to animate the ocean, you can keyframe the Time attribute in the parameters. For example. Set the Time to zero and keyframe it at frame 1. Then Set the time to say 10 secs, and keyframe that at frame 250. When you play the animation [Alt+a], you can observe the ocean moving.

Otherwise, there are a host of other parameters that can be played with to modify how the waves will look, and how large the ocean is.
Once the ocean mesh is how you want it to look, choose the keyframe (in the animation) that is the desired wave pattern.
Next, add a Glass material to the mesh, and set the IOR to 1.33 (which is water).

Set your camera to a desired viewing position.

Next you need to add lighting to the scene to give it that out in the ocean look. As an example, you can follow this entry Cylinder Lighting for the lighting below.

Since the original lighting is pretty drab, some simple compositing or post-processing in an image editor can give the image a little more life.

No comments:
Post a Comment