Saturday, April 27, 2013

Loading Video

This entry covers loading video into the Video Editor in Blender.  This operation can be quite simple, but there is a catch if your video was not rendered at 24fps.

The first image is the Video Editing View, which is where all the video editing work will be done.

Friday, April 26, 2013

Animate Object Visibility

There is a very simple way to key frame visibility of an object.  In the Outliner window, a keyframe can be set on the scene visibility or the render visibility simply by [Right-Clicking] on either the Eye icon, or the Camera icon.  


Friday, April 19, 2013

Compositor Node Layout

This entry will cover the group of Compositor features that fall under the Layout category.  These features help to organize your node setup and help you iterate through your design.


Node Operations

This entry covers a varied set of operations that can be performed in the Compositor View.

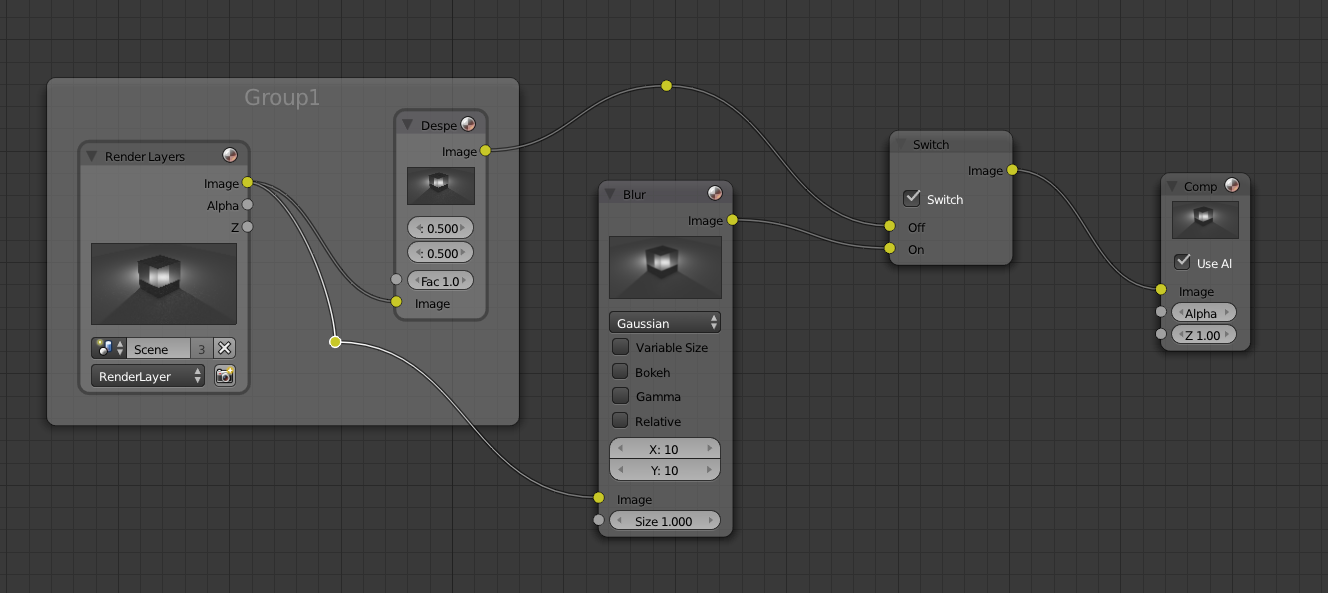
First, the very simple but useful feature of muting nodes.  This can be done by selecting a node in the compositor and pressing [M].  When a node is muted, the header turns red, and an visual bypass line is shown in red behind the node.

This is a toggle operation, so pressing [M] again will un-mute it.

This is very useful to try to review effect the node has on the render.

Friday, April 12, 2013

Retopology

There are many situations where it may be advantageous to redo the toplogy of an existing model.  Perhaps you got it from a CAD software which doesn't care about topology.  Or perhaps you are remodeling something for animation.  Whatever the case, it may be best to just remodel with conventional methods (box modeling).  In other cases, it may be best to enable snapping to the mesh's face-normals as a guide. 

This entry will summarize the method that can be used to perform a retopology of an existing mesh.  In my opinion, this is best suited for complex organic shapes. 

For this example, we'll start with a Make Human head.  Note that the make-human head does has a perfectly good topology, this is just for example.

Thursday, April 11, 2013

Snap To Modeling

This quick tutorial covers the concept of modeling via snapping to a reference.  This is very useful if you need to line up vertices or edges, or if you need to extrude something with respect to another part of the mesh.

The snap menu can be found near the layers selection area at the bottom of the viewport.  By default it is set to snap to the Grid.  This standard behavior can be noted when try to move [G] something, that by holding the [Ctrl] button, the movement will be constrained to the visible grid.

When this is changed to say Vertex, the snapping will now be based on the nearest vertex to your current cursor position.