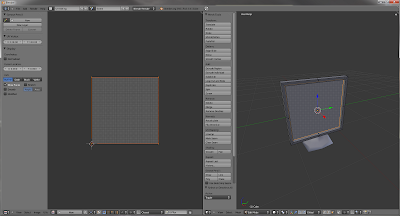
This tutorial will walk through the process of UV unwrapping a mesh and texturing a specific face. A simple example of this would be adding an image to a computer screen.
After modeling the computer monitor, select the desired mesh to unwrap, and switch to edit mode [TAB]. In this mode press [u] for the UV mapping menu, and select Unwrap.
Now that the mesh has been unwrapped from its 3D orientation to a 2D version, select the face desired to texture (in my case, the screen part of the monitor), and switch to the UV/Image Editor view [Ctrl + LEFT].
In this mode, you should see the shape of your face (or faces) that you selected on the left, and your model on the right. In the bottom left corner menu, you should find the Image button. Select an image through this menu.
At this point your image should be visible in the left pane, and your model on the right side. To view the texture in your model, you'll need to enable Texture view rather than Solid. You can adjust the mesh vertices on the left side to massage the image into place.
At this point the texture will be visible in the model, but to render the texture, a new material must be created, and the Face Textures box must be checked under the Options panel.
After creating another material (black) for the rest of the monitor frame, and applying emmisivity to the texture material, and adding a spot light to give a glowing effect, the final render is below.


No comments:
Post a Comment