This entry will walk through the process of applying an alpha texture such that the lighting in the scene reacts to the transparency. This tutorial is specific to the Cycles renderer, for the Blender Internal approach, go here: Alpha-Texture Internal
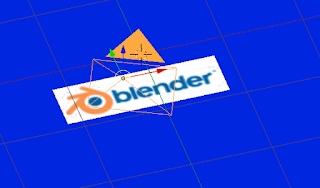
Our starting scene just has two planes, one with the image (containing transparency) and the second acting as the background.
The compositing view for the material is shown below. Note that there are two image textures. I'll describe the two images that are needed next.
Our original image which connects to the Diffuse BSDF is the original image with transparency. This was simply a PNG of the blender logo.
The second image that flows into the Transparency BSDF node, must be a grayscale image representing the alpha channel. Black is opaque and white is transparent (with gray being in between values of transparency). This image must be generated in an image editor and imported separately.
The final rendered result shows the transparent plane hovering over the background. Note how the light respects the transparency and the shadow matches the shape of the image rather than the rectangular plane that it is resident on.


No comments:
Post a Comment