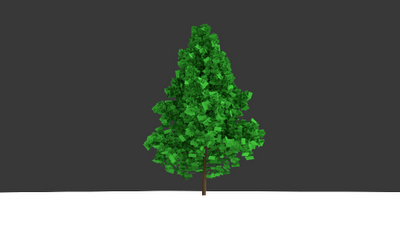
This is a quick summary of the tutorial posted here: Sapling Tutorial that details how to generate trees using the internal add-on Sapling.
So first enable the add-on. If it's not available in your menu, you'll need a newer version of Blender.
Once the add-on is enabled, you can add a Tree in the Curve menu.
At first the tree won't look like much, so make these initial setting changes in the tool-panel [T] (on the left).
Now we have something that looks like a tree.
Note that there are numerous settings in the Sapling add-on by which you can tailor your tree. Only the basic major settings will be covered here.
To generate a new tier of branches increase the Level.
To move the branches up and down the trunk, adjust the Base Size.
New tree with Level 3 branches and lower base.
Next, adjust the Vertical Attraction to give it a perky, or willow like feel.
Notice with a negative Vertical Attraction, the branches hang down.
Finally, show the leaves. Rectangular leaves use less computing power. You'll want to use textures to define the leave shape anyway.
Fully developed tree.
Note that the tree is composed of a curve which is the trunk, and a mesh which represents the leaves.
This allows for easy texturing of each component individually.
A simple render of a brown trunk, and green leaves.


No comments:
Post a Comment