This entry will cover a simple approach to applying an image (PNG) with transparency to a material that has color. The image with transparency is the eyes seen below.

We'll be applying these eyes to a segment of the cylinder, and we've isolated the segment by highlighting the surrounding edges as shown below.
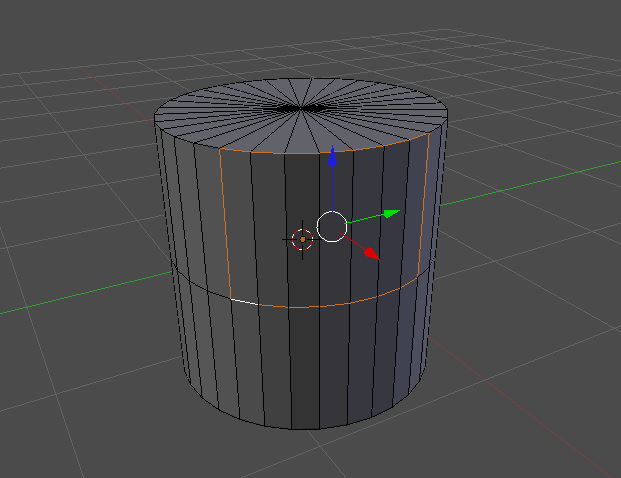
These edges will be made into a Seam so that we can find them in the unwrapped map easier. This can be done with [Ctrl + E], and selecting Mark Seam. Note that breaking the mesh into UV islands is not recommended for models to be used in real-time (gaming) applications.

Once the vertices are marked and the mesh is unwrapped using the standard [U] and Unwrap, moving over to the UV/Editor [Ctrl + LEFT], should show a UV map similar to the one below. Our seams are now very obvious to find.

Since we only want the image to display in our segment, we'll enlarge it accordingly and move all the other elements of the mesh outside of the image.

Back in the standard view, create a new material for the cylinder, and add a new texture. In the texture properties, all you need to do is set the Extension to Clip, and ensure the Coordinates are UV and the Projection is Flat. No further fiddling with transparency is needed. The transparency is covered automatically.

The final render with the eyes textured onto the cylinder.

No comments:
Post a Comment