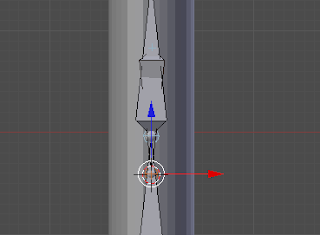
This entry covers an obscure but useful rigging feature known as Stretch To. This method basically helps fix ugly 'pinching' at joints where bones are bending (i.e. elbows).
To demonstrate this, we'll use a cylinder with many ring-cuts [Ctrl + R] as our arm which we will bend.
Right off, just applying a simple bone setup shows a great deal of pinching at the point of rotation. We'll be using a Stretch To bone to alleviate this.
First, with the Armature selected in Edit Mode [TAB], move the cursor to the 'forearm' of the armature and add a new bone [Shift + A].
Select the new bone, then Shift select the 'forearm'. Then connect the bone [Ctrl + P] as detached, so choose Keep Offset.
Rotate the new bone so that it intersects the top of the lower 'bicep arm' bone. Move the cursor to the tail of the new bones position [Shift + S].
Now select the 'bicep' bone and then Shift select the new bone. Use the Constraint command [Ctrl + Shift + C] to bring up the constraints menu and select Stretch To.
At this point the new bone should now move in such a way as to maintain its position tethered between the two bones.
Adjust the Head/Tail value and the Influence to get the tail of the new stretch bone to line up with the cursor once the arm is bent.
Finally, move to Weight Paint mode [Ctrl + TAB], and select the new stretch bone. Paint its influence onto the mesh till the desired pinch attenuation is achieved.
Compare the original (left) with pinching, to the stretch bone approach (right). The difference is subtle, but the stretch to approach is more natural, especially for joints such as these.


No comments:
Post a Comment