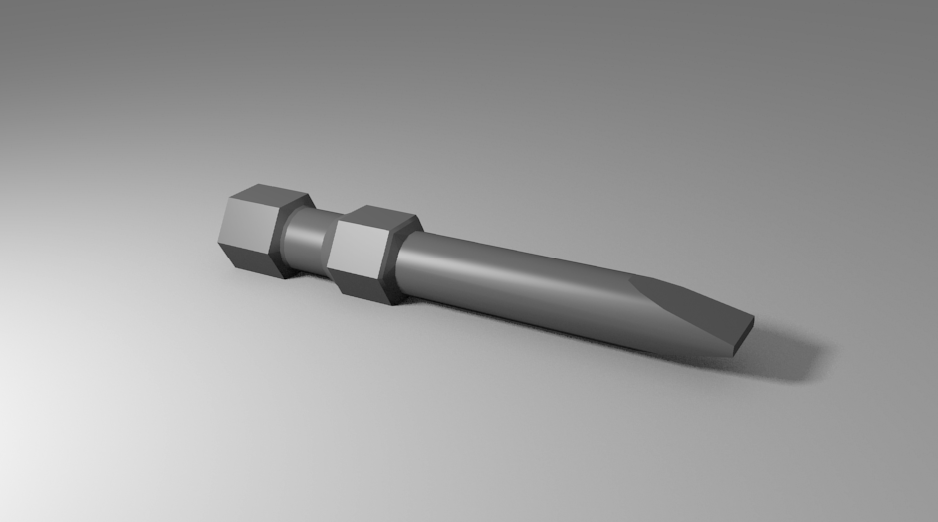
This entry covers the topic of Specular Textures. Essentially it is applying a grayscale texture as a specular map, to give an object a non-uniform specularity. To demonstrate, I have a model of a hex bit that has a single material that is a solid gray with the standard uniform specularity. I'll be adding a stretched cloud texture to give the bit a more brushed metal look.
The first step is to remove the material specularity. This can be done by dropping the Intensity to 0. The Hardness should me maintained however, or possibly increased.

Next create a new texture for this material. Regardless of what you use for the texture, be it an image or a built-in Blender texture, essentially the main parameters to change are in the Influence section. Uncheck the Color in Diffuse and check the Intensity in the Specular. Now the light values of the texture will provide high specularity while the dark parts will provide less.

From here, the nature of the specularity is up to your creativity. I used the following settings with the built-in cloud texture to produce the brushed metal look in the final render below.

Final render with the specular map applied. The metal almost seems to have a normal map feel, but it's purely just specular map reflection.

No comments:
Post a Comment