This entry goes over the process of weight painting or controlling the effect of a displacement modifier among a mesh. So first we start out with a grid mesh, whose surface has been deformed via a displacement modifier seeded by a Cloud texture.

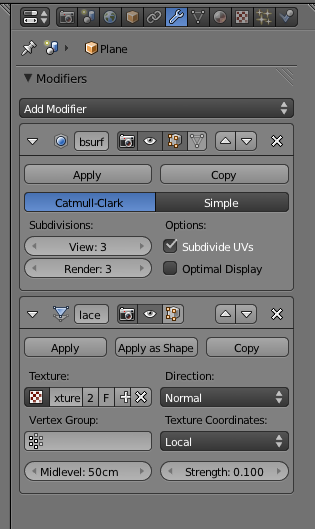
A quick render of this will show the displacement is applied all over the mesh. Now, if we want only some parts of the mesh to affected and others not, we can do this by defining a Vertex Group and applying weight painting.

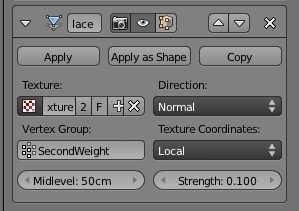
So first we define a vertex group. The one I'm going to use here is SecondWeight. The highlighted vertex group will be the one that receives the weight painting.

Switching over to weight-paint mode, we can now paint onto the mesh to apply the 'strength' of the modifier to different parts of the mesh. Blue represents zero effect, and Red represents full effect.

From the pattern I've painted, the camera should see a long line of strong displacement a little to the right of the camera stretching toward the horizon, while there is less influence on the sides.

After painting is complete, set the Vertex Group in the Displacement modifier.
The effect of the weight paint (vertex group) should be apparent within the mesh even before rendering.

Rendering shows what we expect. Strong displacement to the right of the camera, and softer displacement elsewhere.

these are awesome tutorials for beginners like me
ReplyDeleteI haven't been able to keep up with it as much as I'd like, but I'm glad what is there is helpful!
ReplyDelete