This entry will show how to make use of the Vertex Distribution capability within Blender. This a very useful effect when you need to have multiple instances (not copies) of an object arranged in a very specific order.
For this example, we'll see how to generate a circle of monkey's using only using to objects. The first of the two objects is the Circle which will act as our instance reference.

Next we'll add a Monkey as our object to instance.

Next, parent the Monkey to the Circle either by dragging in the Outline panel (2.62) or [Ctrl + P].

Now, with the Circle selected, under the Object panel, select the Verts button in the Duplication panel.

This should create the view below in the scene.

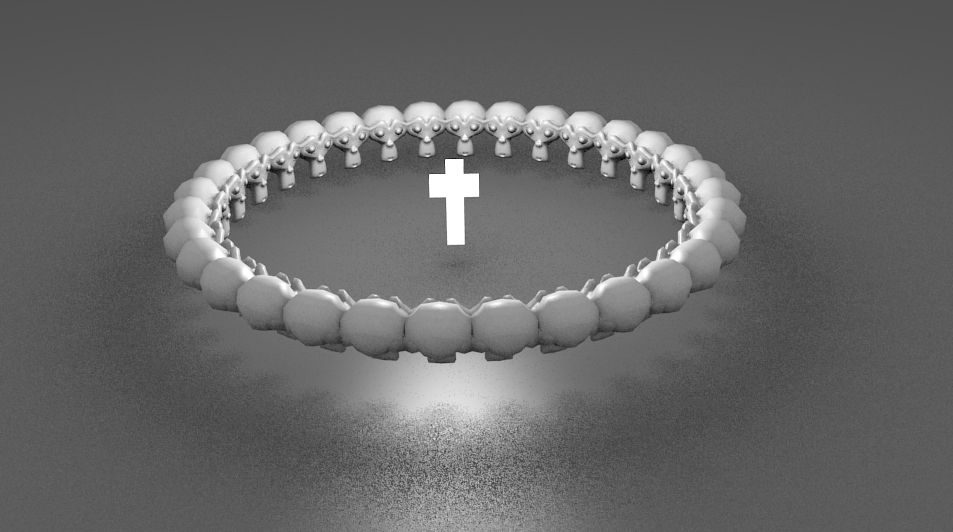
To get a little more sophisticated and add more flexibility, we'll check the Rotation box (shown above). Next select the original Monkey again. Apply it's rotation [Ctrl + A]. Then on its Object panel, under Relations Extras, change the Axis shown below.

This should cause the Monkeys to look inward, as if they were all focusing on some important object.
Some other examples of meshes created using the VertDist method. Note that each of these three objects were created only using 2 unique meshes.

No comments:
Post a Comment